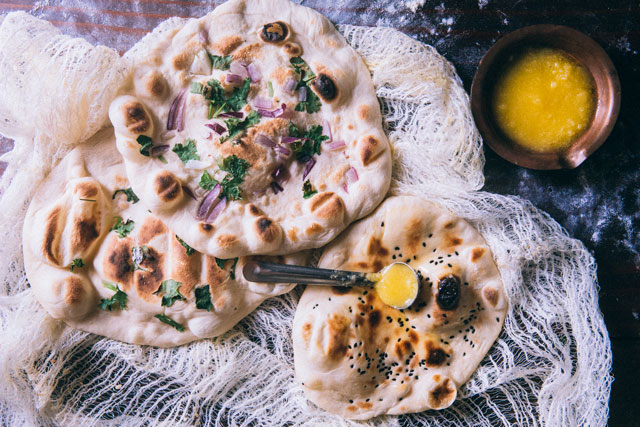
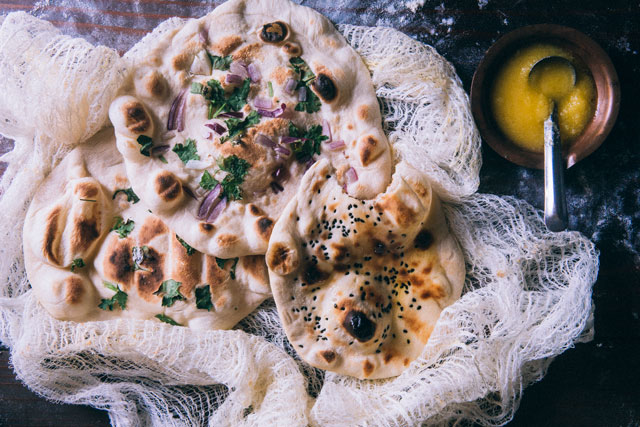
 I’ve shared naan recipe before. I cannot even remember for how long I’ve been using that one and it had always been one of my favorites. Mostly because it does not use yeast. I always disliked that “yeasty” flavor in breads. I had no control over the use of it in the breads I buy from outside but I am very possessive about my naans and since I could control what goes in mine when I am making them at home, I kept my distance from yeast. Well until a couple years back. Yes, if you have read my previous post on naan, chances are you’ve heard me venting over the (mis)use of yeast. But now I am a convert.
 There’s this Pakistani- Indian restaurant in my neighborhood that makes THE most amazing “dhaba style food”. Unlike the food you get at a usual Indian restaurant in the US where every curry practically tastes the same, this one makes their bhuna gosht, murgh tikka lahori and dal fry just like they do at a roadside dhaba in India (or Pakistan). Now this place makes amazing naan. Soft, pillowy, huge in size but still not doughy or heavy. And they do not taste of yeast either. I went up to their chef one day, a tall, muscled, Punjabi from Pakistan who was throwing a cricket ball sized dough in the air and back came a flattened one in his hand. Pulling out more than ten naans from his tandoor in a minute. He said he doesn’t remember when was the last time they started the starter dough but they’ve been saving a small portion of the dough and using it to start a new batch everyday. But he did tell me to put everything from yogurt with milk in the dough to yeast with sugar and baking soda and egg. Although this sounded very similar to the recipe Madhur Jaffery shared in her book Madhur Jaffery’s Indian Cuisine, saving the culture for the next one is the key. Now if you run a restaurant it’s easier for you to keep that cycle going because you are making a new batch of dough for naan everyday. But, contrary to the general impression people have in the west, we Indians (and I am talking mostly about the Northern part of India here, whose cuisine is widely popular), we do not make naan at home everyday. Instead we cook chapatti or roti where although cooking technique is pretty much the same but the dough is not fermented and is kneaded and used right away so the bread that comes out is thinner compared to a naan. Here’s the recipe if you want to look.
 I wanted to save my culture for naan, so that whenever I plan to make I can dig into that reserve. But saving yeast in a box even in cool, refrigerator conditions was not working out because it’d explode in almost a week. Then mummy shared a tip. Yes, mums always come to the rescue! She told me how her friend, Aunty Sharma who was originally from the foothills of the himalayas, the state of Himachal Pradesh, used to save the culture. In regions of Himachal Pradesh, people prefer their roti dough fermented which makes lighter flatbread and have the same practice of saving the culture for the next batch. Only they save it in a container of flour itself. Just grab a portion of dough, make a ball and bury it to the bottom of the container you store your atta flour in. Flour pulls out all the moisture from the dough making the yeast inactive. Pull out the dry ball when you plan to make naan again. Break it to a powder, add to flour, mix with water and salt and knead the dough like you would normally do. Just make sure you save that last ball for next time. Neat, isn’t it? And easier. And no overpowering yeast flavor in your dough.
So following the footsteps of Aunty Sharma I save my culture too now. It was high time I shared this recipe with you now. Just brace yourself because this is going to be one of those posts that is heavily loaded with images. Mostly to show you exactly what to look for in your dough when preparing it for the first time and also because I was having fun shooting!
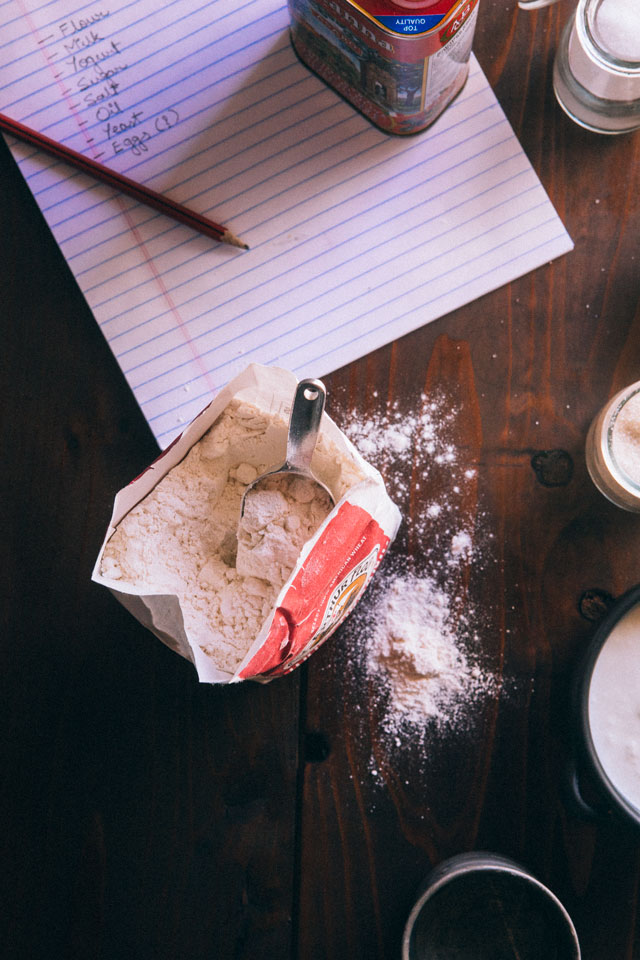
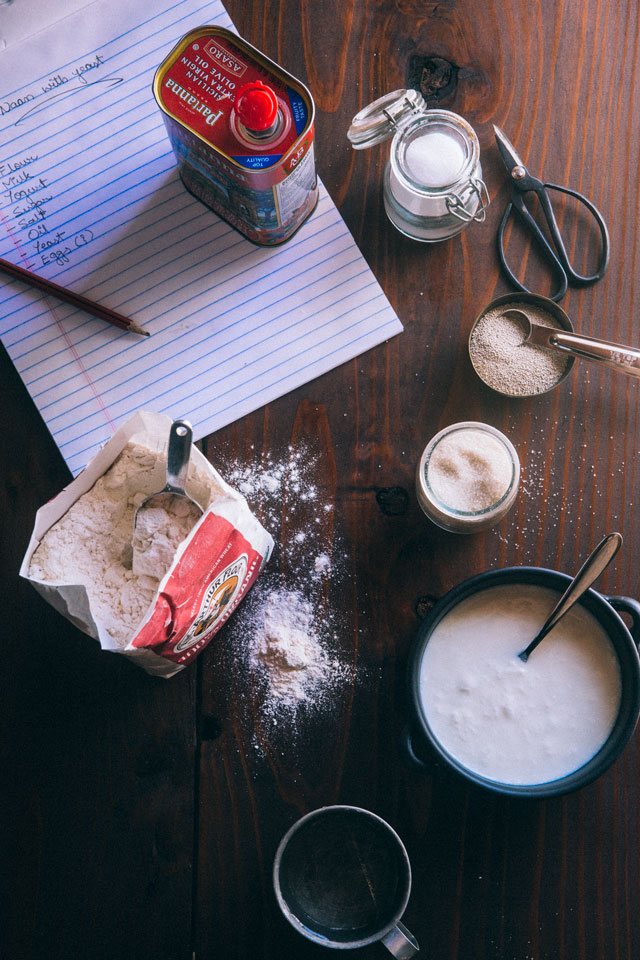
Start with laying all the ingredients on the table. For this particular recipe you need all purpose flour, yogurt, lukewarm milk, salt, sugar, yeast, a little oil and water.
Use a large mixing bowl to mix all the ingredients together. First start with flour. Mix in yogurt and milk.
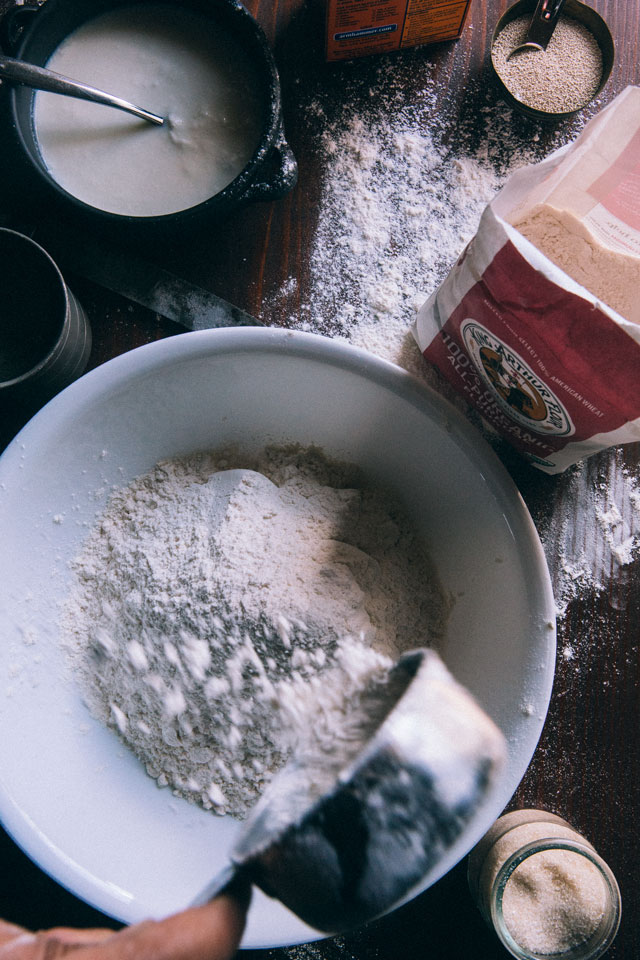
Now add rest of the dry ingredients, salt, sugar, yeast and baking soda (if you are using).
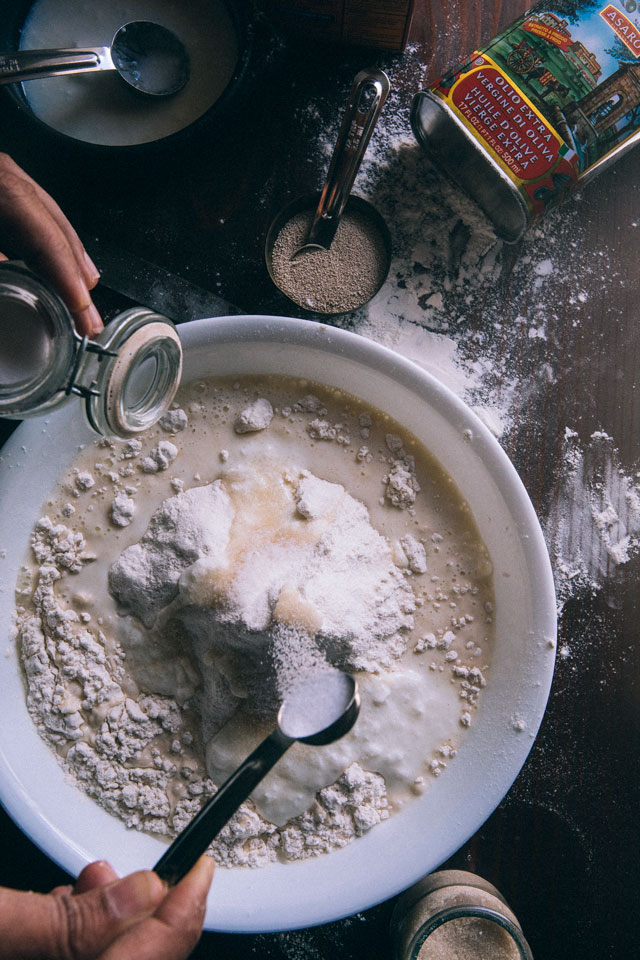
Using hand bring everything together so that they loosely incorporate into each other.
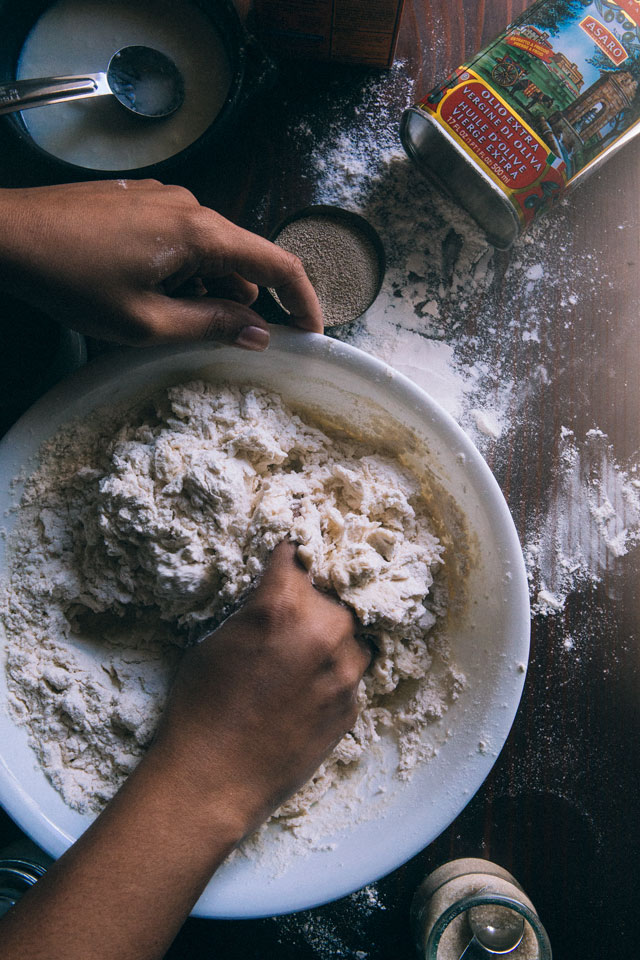
By this time flour should begin sticking to your hand. Add oil at this point and mix everything together.
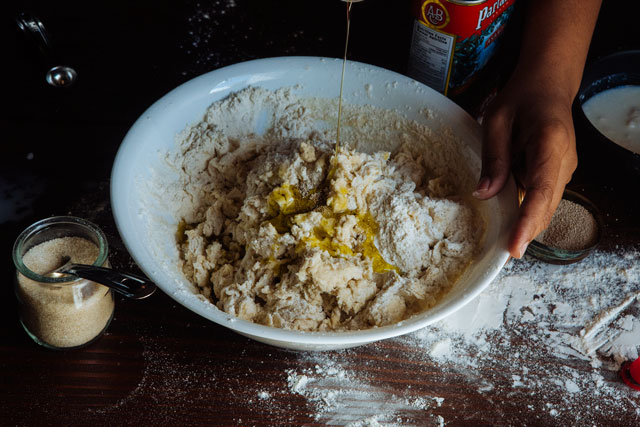
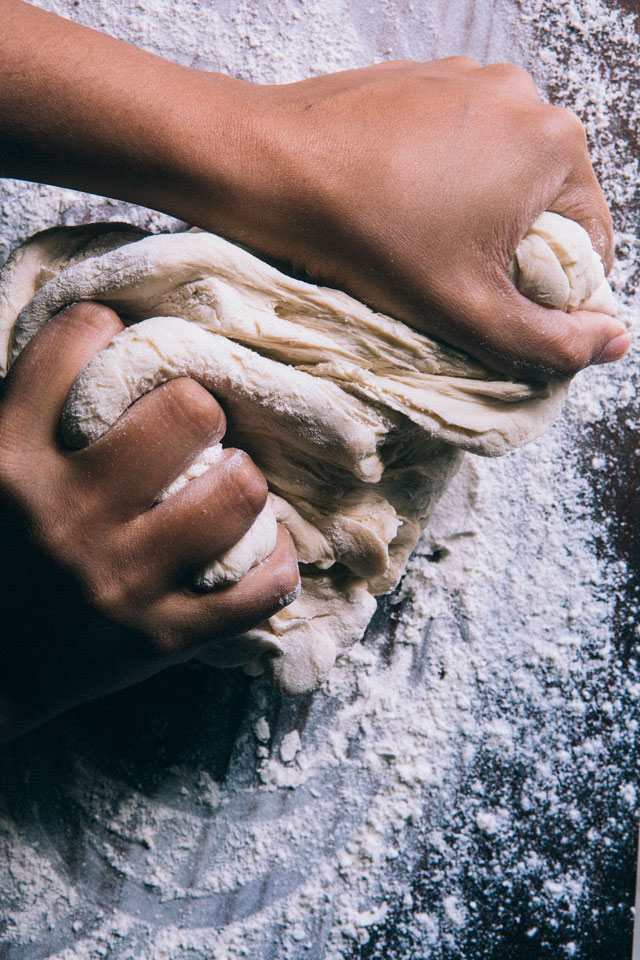
Once all the ingredients are incorporated, dust your work station. Transfer the sticky dough mixture to the work station and begin kneading. Knead for 8-10 minutes. The more you knead the more the gluten in the flour loosen and make your bread softer.
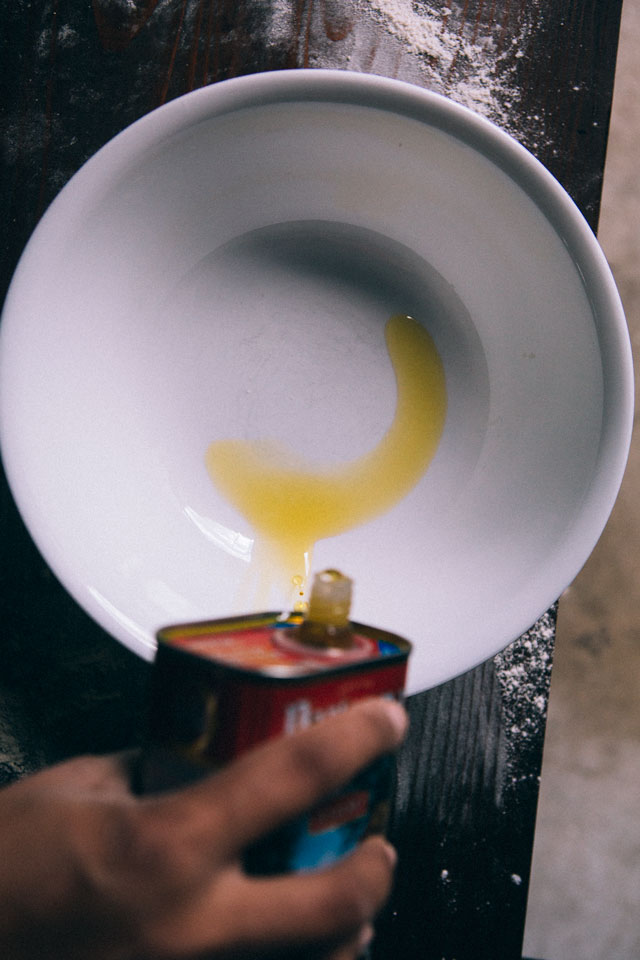
Once the dough comes together, get a bowl ready to transfer your dough into. Pour about one teaspoon of oil into the bowl.
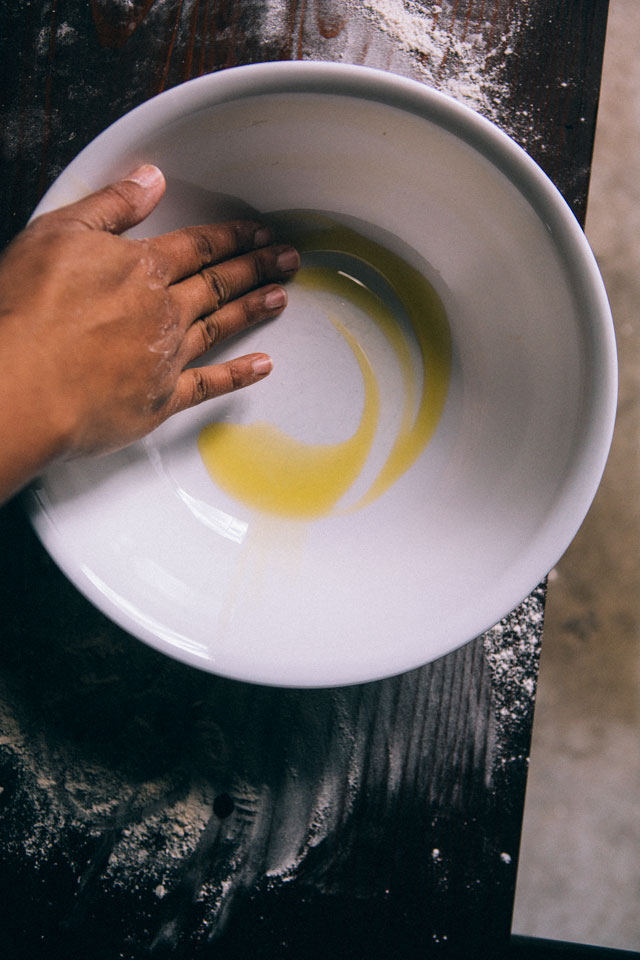
Nicely grease the bowl with oil.
Transfer the prepared dough into the greases bowl. Cover with a damp cloth or plate. Let the dough sit in a warm, dry and preferably dark place for the yeast to get active and help the dough rise. For about 3-4 hours.
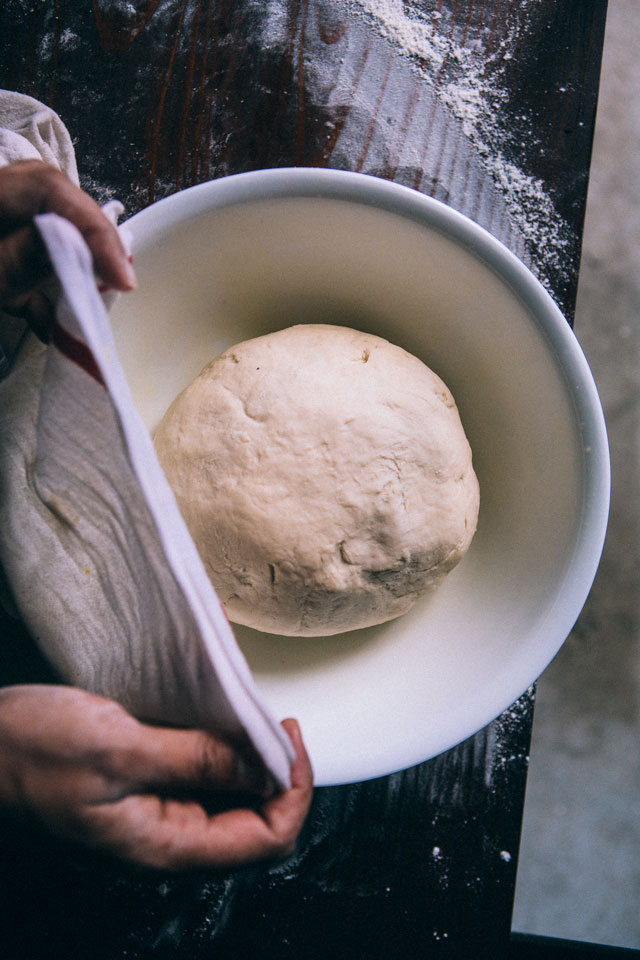
After a few hours the dough more than double in size.
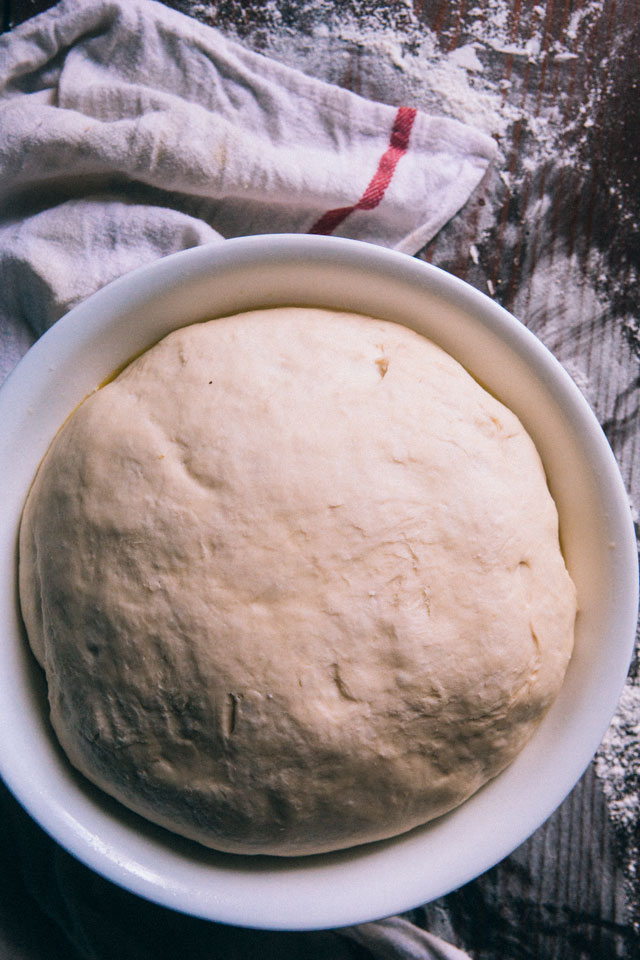
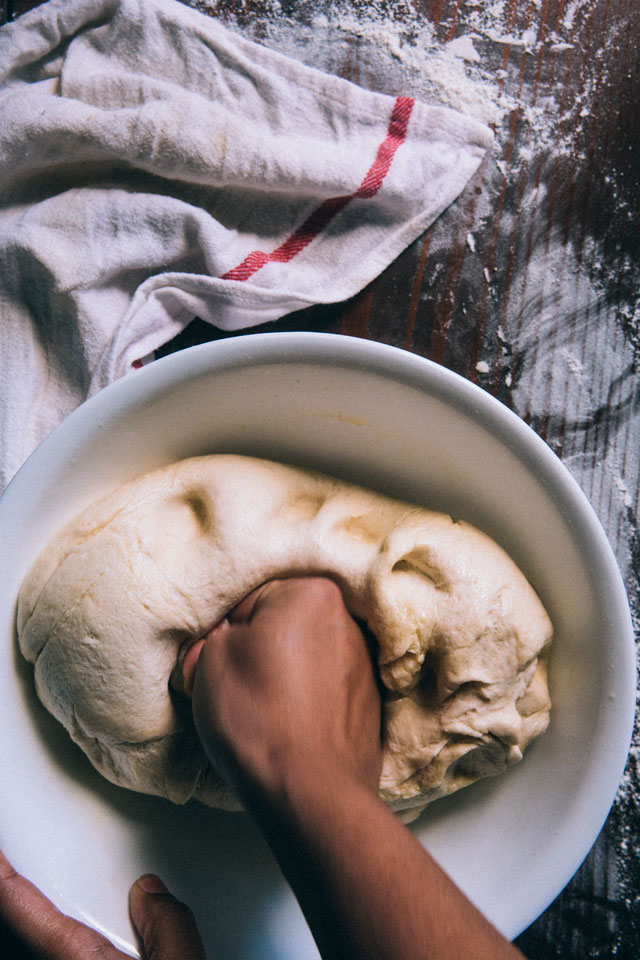
Uncover. Fold, punch and knead the risen dough for a minute.
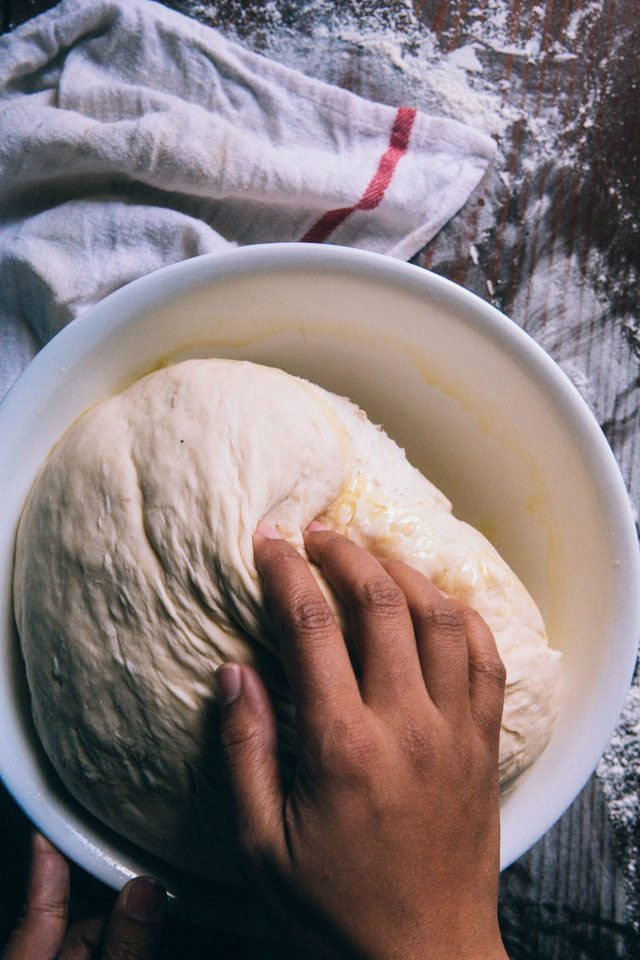
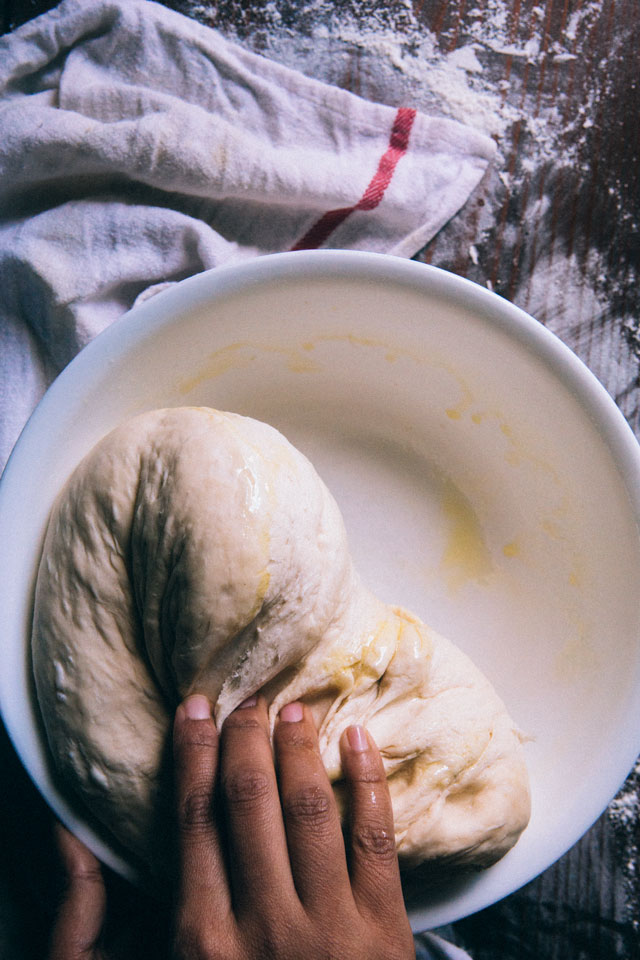
By this time the dough should not be too sticky mostly because of the greased bowl. Lightly knead it for a minute and let it rest again for another hour.
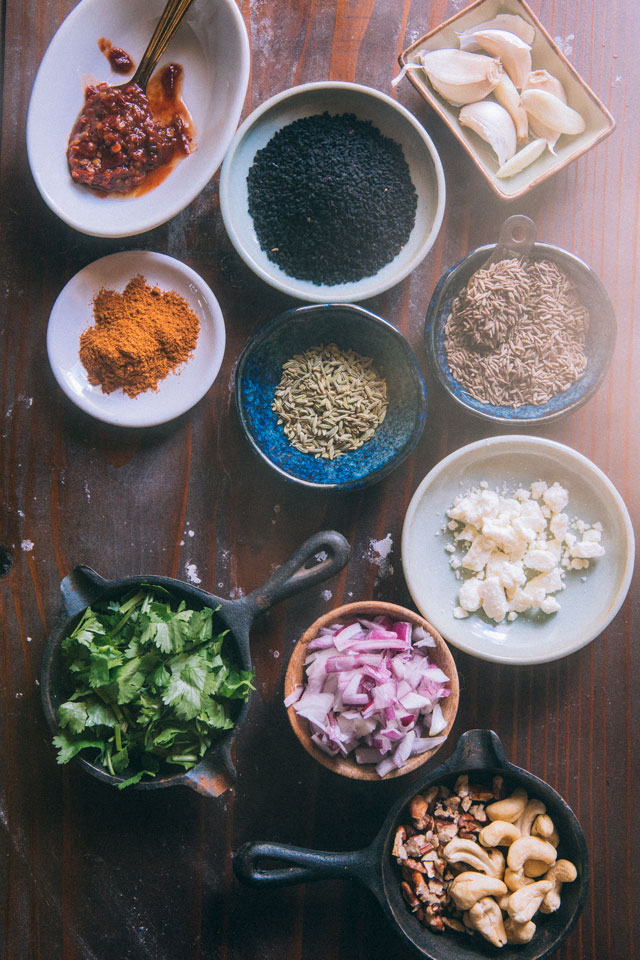
In the meantime while the dough is getting ready to be cooked, get your toppings in place. I just went wild and laid out a few possibilities here. Just to give you a vague idea on what can go. Feel free to go wilder!
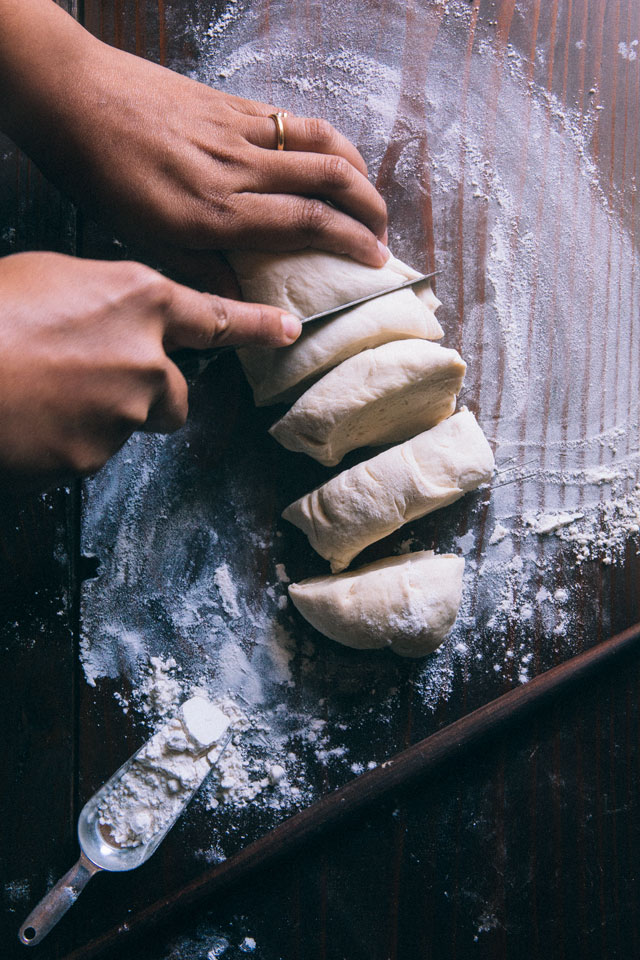
Dust the work station and begin the rolling process. Divide the dough into equal parts. Approx, 1/3 cup per ball.
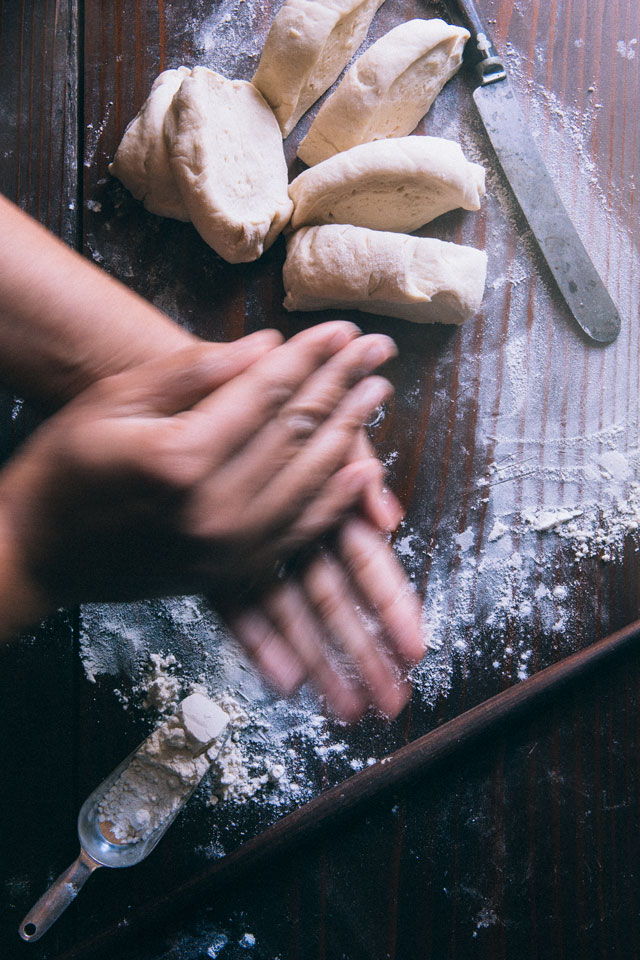
Roll smaller dough pieces into a ball. Then flatten. Dust and roll into thinner sheets using a rolling pin. At this point you can save one small portion of the dough. Roll into a ball and bury under dry flour if you want to store.
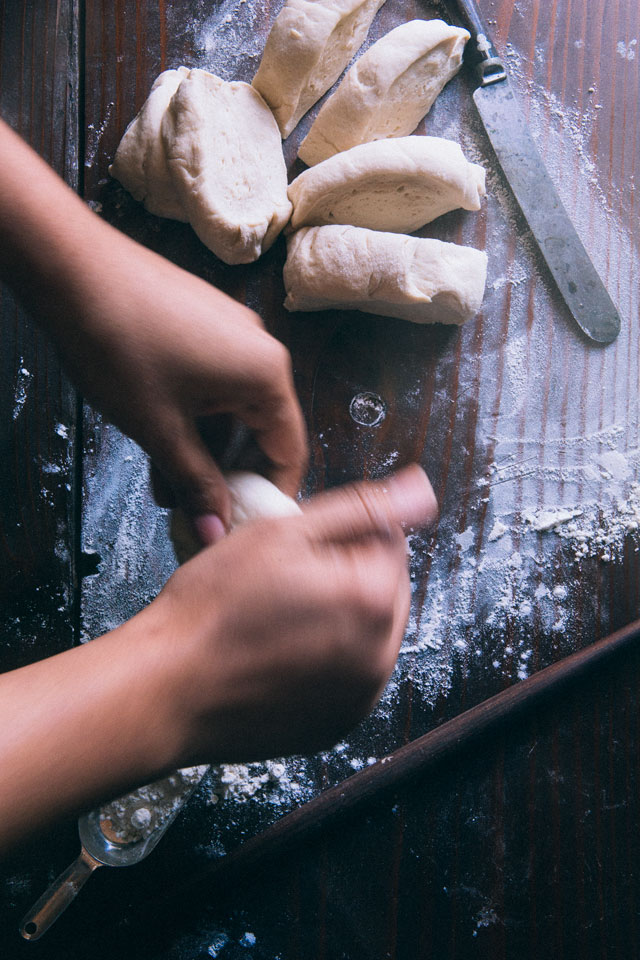
There’s no “right” shape when rolling a naan so do the best you can. Slightly elongated naans just look cuter in my opinion!
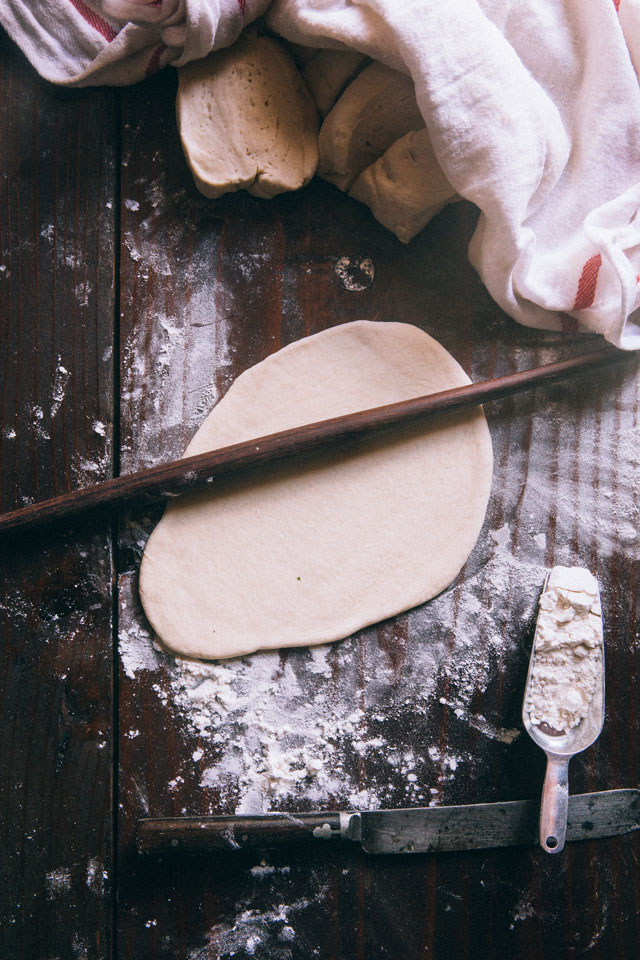
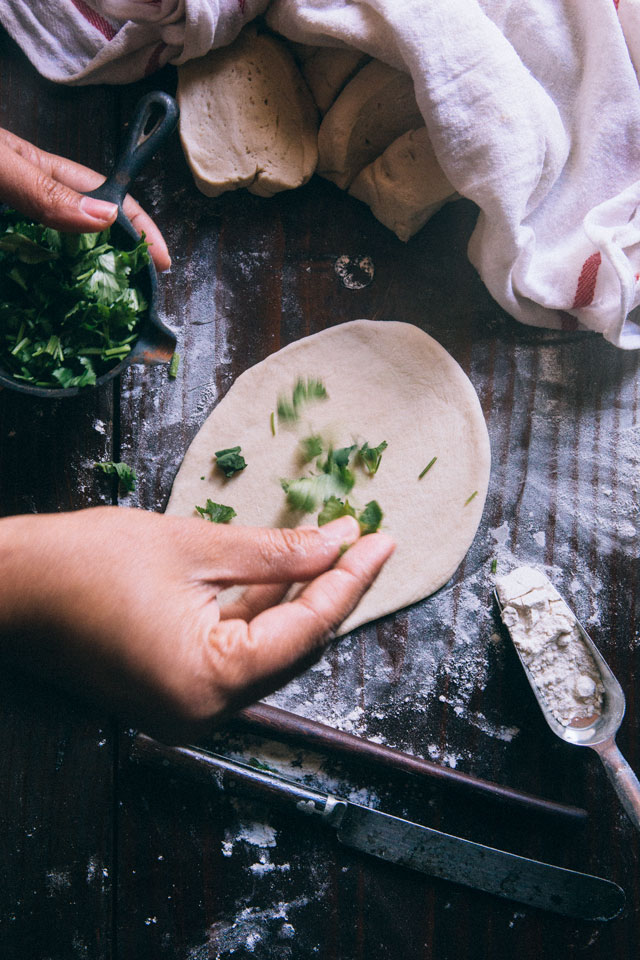
Sprinkle some topping. Gently roll over it with a rolling pin so that the topping is stuck to the dough and doesn’t easily fall off when you transfer it to the pan.
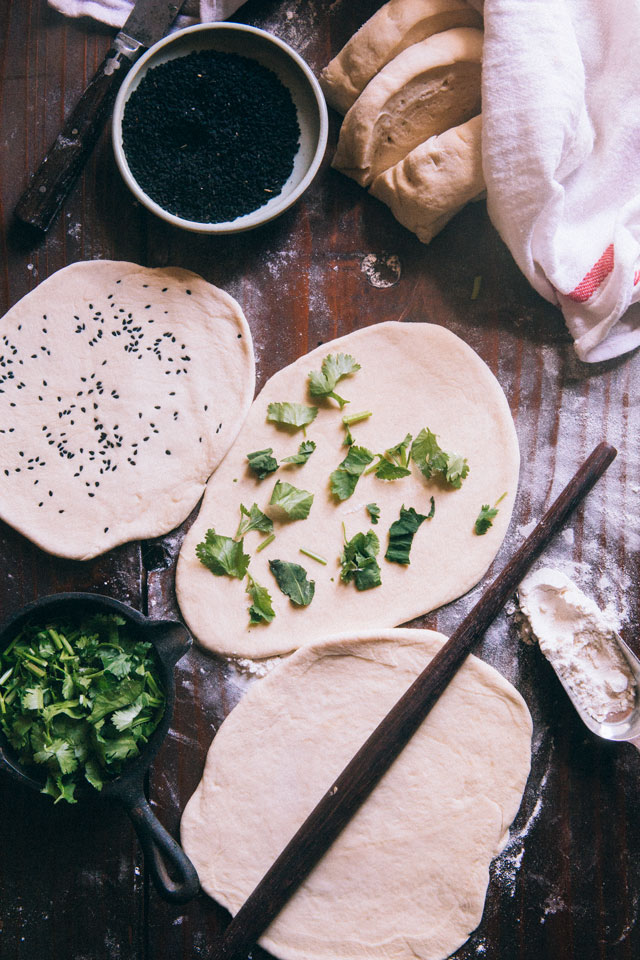
Flip and lightly brush some water to the other side of the dough, the side that will land on the pan/tava/grill first.
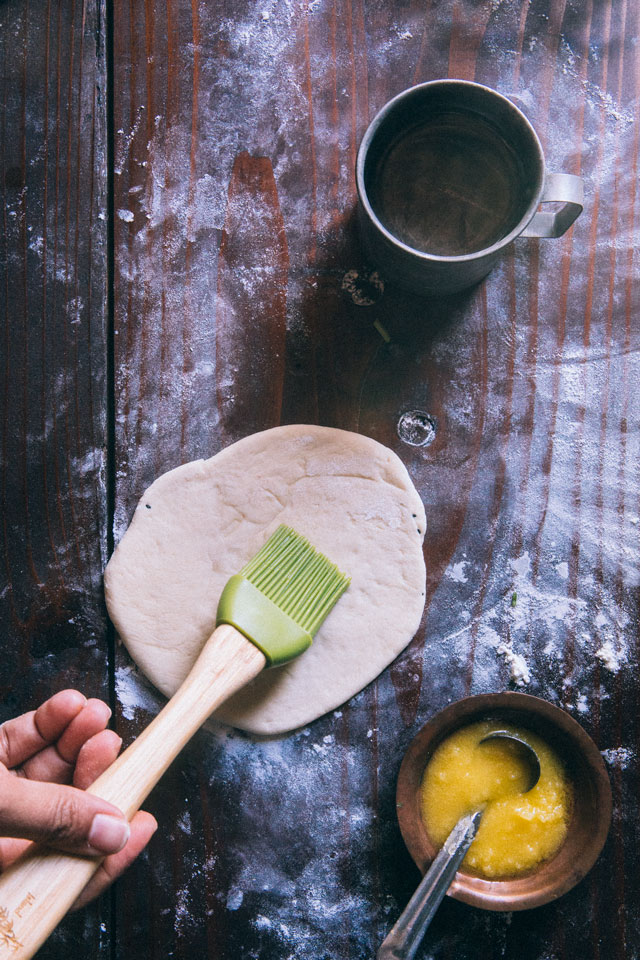
Now traditionally naan is cooked in a tandoor, a stone oven and the wet side sticks to the walls of the tandoor. When making them at home you can get a little creative. Pick a skillet, pressure cooker, castiron pot- anything with thick sides or bottom and a heavy lid to seal the steam. Heat the skillet/pressure cooker/pot. Wet side down transfer the flattened dough to the cookware. Flat on the surface of a skillet or stick to the sides if using a pot or pressure cooker. Cover. Wait for the exposed surface to form big bubbles and the trapped steam to lightly cook it. Uncover, finish cooking on open flame, this time exposed surface facing the flame and lightly roast the bread.
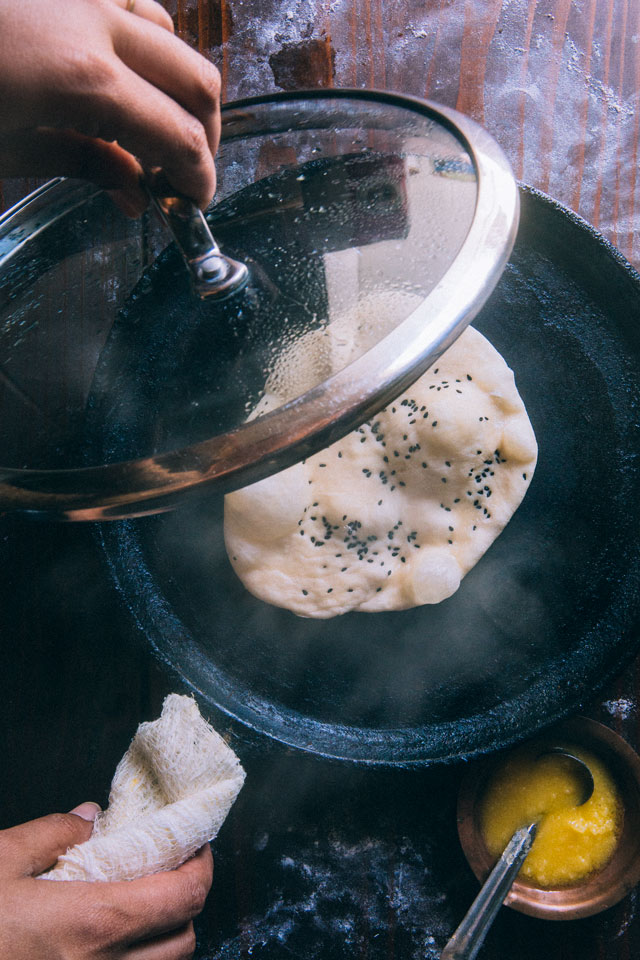
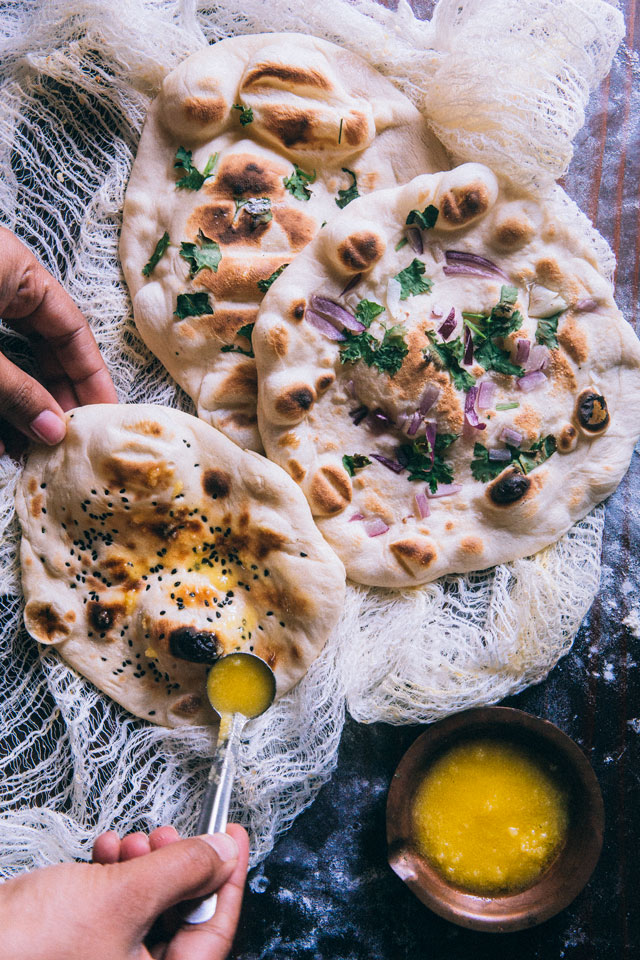
Take off heat. Smother with tons of butter (or ghee). Enjoy!
Ingredients:
4 cups all purpose Flour +extra for dusting
1 cup (lukewarm) milk
1/2 cup (plain) yogurt
2 teaspoon Sugar
2 teaspoon Salt
2 tablespoon olive oil (canola is fine too) + extra for greasing the bowl
1 1/2 teaspoon (active dry) yeast
Water (if needed to adjust the softness of the dough)
Method:
Mix all ingredients together in a mixing bowl. Dust work station. Transfer the mixed ingredients on the work station. Knead together into a soft dough. Use a little water if needed.
Lightly grease a large bowl. Transfer dough to the bowl. Cover. Place in a dark, warm, dry place. Let the dough rise for 3-4 hours or until it more than doubles in size.
Uncover. Punch the risen dough down. Knead for another minute. Let it sit covered again for another 45 mins- 1 hr.
Dust work station. Knead the dough only to bring it together. Divide into smaller balls. Using a rolling pin roll the balls to make bread which is a little thick and preferably in teardrop shape.
Sprinkle one side of the bread with toppings like mentioned above. Brush the other side with water.
Heat a thick bottom skillet or a wok or any heavy bottom pan with a lid. Once hot place the naan wet side down. Cover it with a lid.
Let it cook for about 30 secs or until you see bubbles on it.Now cook the other side of the naan over direct flame of the burner with the help of tongs. When you see some charred brown spots then you know that the naan is done.

I absolutely love your recipe! The Naan tastes so delicious and better than any other Naan recipe that I’ve tried in the past. The naans freeze very well too. Thank you so much!
Thanks so much for your kind words! Words like these keep me going. Do share a picture of your naan, on instagram and do not forget to tag @indiansimmer <3
I’d like to make naan using the saved dough. Can you please provide details? How much saved dough goes into the recipe? Do you omit the yeast if using saved dough? Can I use sourdough starter in place of saved dough? Really looking forward to your help.
[…] Once the meat is cooked, stir in milk and finish off cooking. Garnish with cilantro and serve with steamed rice and naan. […]
I really like what you guys tend to be up too. This type of clever work and exposure!
Can the sugar be omitted?
Jowan the sugar is necessary to activate the yeast.
I just made this recipe last night and absolutely loved it! Your tips were so helpful and I loved that you have photos of the process. It really helped a first time naan maker like myself. I’ve been munching on the leftovers for breakfast this morning :).
Super thrilled to hear that Amanda! Yipee 🙂
These naans are looking more delicious then those we order at hotel.It’s recipe is also very easy.Will surely try it.
Wow, look at the pictures. Gorgeous! Love your work dear.
Thanks Rachna!
I know I’ve said it before, but I LOVE this site and this post is fantastic Prerna. The writing, the photos and that recipe. I am such a fan of breads, especially sourdough, so this is reminiscent in technique. I actually just got back from 2 lovely weeks in upper India traveling through New/Old Delhi, Agra, Ranthamborne and Jaipur. Amazing time there and the people and food, wonderful. Thanks for this one!
You were in my homeland Kevin! I am from that part of India. So excited that you loved it there and also appreciate the recipe 🙂
[…] premade naan (use the recipe from here or […]
Lovely post Prerna! I think something like a naan does deserve to be shown like this.
I have made Naan from your old recipe and am so excited about this one, Prerna! Gorgeous pictures too:)
You are the sweetest Bina! Thanks 🙂
I’ve had this dream of getting a bunch of friends together and just putting out a spread of vegetarian dishes, some naan, and just letting people go to town. I’m feeling like that needs to happen even more now that I’ve seen this beautiful recipe.
What an idea Brian! I love doing that. Infact I should post some recipes of what I do with these naans. Pizzas, crackers, sandwiches. Endless possibilities.